

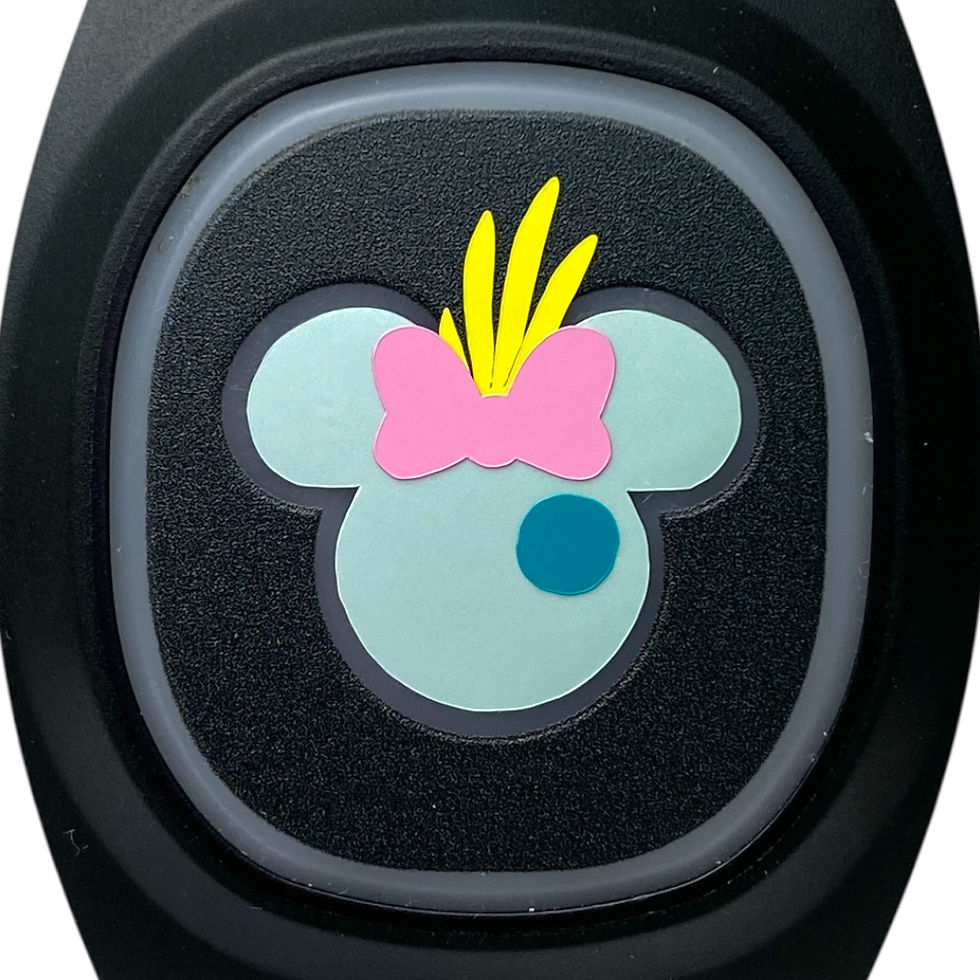
Layering Your Scrump Mickey MagicBand Decal
- themousierge

- Jun 30, 2025
- 2 min read

For general Tips and Hacks to make layering decals simple, click here.
Step 1:

Clean your MagicBand with the alcohol wipe included with your decals. Cut the white jewel apart from the white collar decal.

Step 2:
Peel the white backing off the mint pastel pearl Mickey decal. Using the clear transfer tape, place the Mickey head on the MagicBand.

Step 3:
Remove the transfer tape by peeling it off. If the decal starts to lift off, press it back down.

Step 4:
Peel the white backing off the yellow hair decal. Place the decal at the top of Mickey's head.

Step 5:
Remove the transfer tape by peeling it off. If the decal starts to lift off, press it back down.

Step 6:
Peel the white paper backing off the pink bow decal. Place it at the top of head.

Step 7:
Remove the transfer tape by peeling it off. If the decal starts to lift off, press it back down.

Step 8:
Peel the white paper backing off the teal eye decal. Using the transfer tape, place it on the right side of the Mickey head.
Step 9:
Remove the transfer tape by peeling it off. If the decal starts to lift off, press it back down.

Step 10:
Peel the white backing off the black eye decal. Place it on the left side of the Mickey.

Step 11:
Remove the transfer tape by peeling it off. If the decal starts to lift off, press it back down.

Step 12:
Peel the white backing off the yellow X decal. Place it on the black eye.

Step 13:
Remove the transfer tape by peeling it off. If the decal starts to lift off, press it back down.

Step 14:
Peel the white backing off the black mouth decal. Place it at the bottom of the Mickey.
Step 15:
Remove the transfer tape. You're done!
For more decals like this one, check out TheMousierge shop on etsy!


Comments